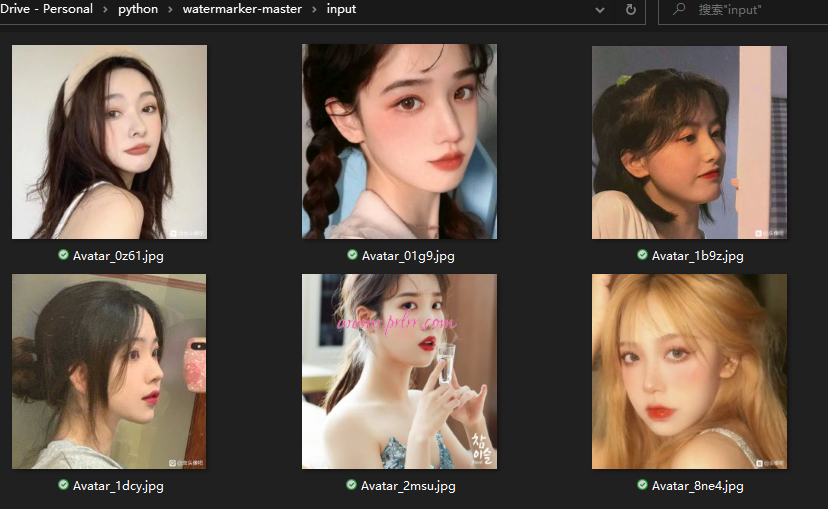
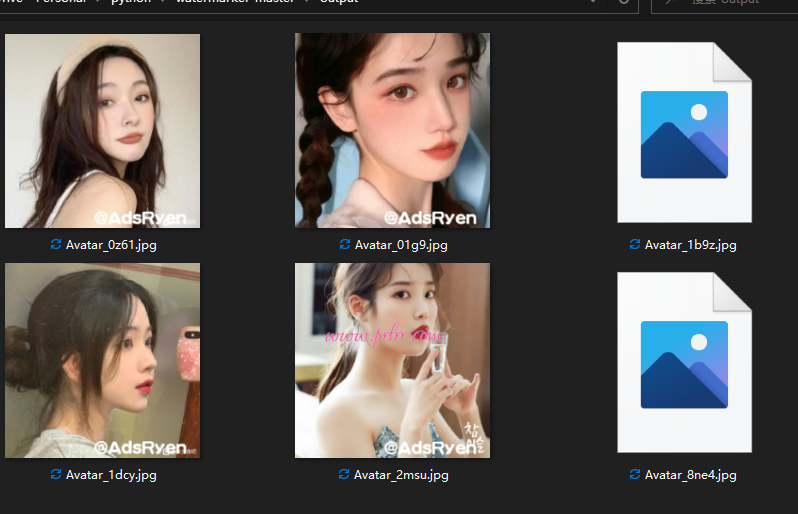
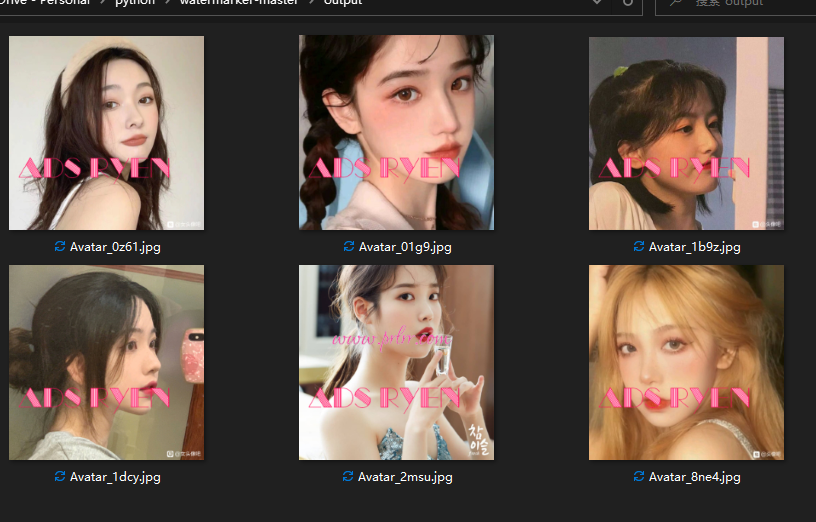
为了节省博客空间或者想加快图片加载和加快网站进入速度,所以只能采用图床或者存储,就不能使用插件自动加水印,但是一张张手动也会更加麻烦,所以python是一个很好的自动化偷懒神器
做过图像识别的,应该知道OpenCV,其中cv2.putText()函数,就可以实现在图片上加文字,非常简单。
putText(img, text, org, fontFace, fontScale, color, thickness, lineType, bottomLeftOrigin)
参数解释:
img:需要添加文字的图片。
text:要加的文字内容。
org:文字的位置坐标。
fontFace:字体类型(可选择字体有限,可设置斜体)。
fontScale:字体大小。
color:字体颜色。
thickness:字体粗细。
lineType:线型。
bottomLeftOrigin:默认值为false,图片数据原点在左上角。
但putText()有个问题,不能添加中文文字,也不能指定字体,而PIL(Python Image Library)可以解决这个问题。
Image模块
Image是PIL中的核心模块,实现对图片的基础操作。
Image中的函数:
1.Image. open(path):打开现成的图片,该图片在path所示的路径中。
2.Image. new(mode, size, color):创建新的图片文件,color默认为黑色。
Image对象的属性:
1.image.format:查看图像的格式,常见的有JPG、PNG等。
2.image.mode:查看图像的模式。常用的例如RGB,3x8位像素,为真彩色;RGBA,4x8位像素,有透明通道的真彩色。
3.image.size:获取图片的尺寸(长×宽),该二元组也表示图片的像素。
import os
import sys
from PIL import Image, ImageFont, ImageDraw

# 读入要打水印的照片
image = Image.open('./input/IMG.jpg')
im_size = image.size

print(image.format)
print(image.mode)
print(im_size)
image.show()

----------------------
[out] JPEG
[out] RGB
[out] (1920, 2340)
原始照片:

ImageDraw模块
ImageDraw模块,提供对图像进行绘制的方法。
1.ImageDraw.Draw(image):创建画刷。
2.ImageFont.truetype(file, size) :设置字体和大小,file提供字体的路径,size为文字大小。在C盘(系统盘)-Windows-Fonts里面,有计算机上安装的所有字体,选一个喜欢的。
3.draw.text(xy, text, fill, font):根据位置、内容、颜色、字体把文字写进图片中。
xy:位置,即距离图片左上角起始点的坐标。
这里普及一下图片坐标系统的概念。
图片坐标常用二元组(x,y),(0,0)位于左上角。
四元组表示图片左上右下的坐标,例800x600的长方形图片表示为(0,0, 800,600)
text:字符串,即文字内容。
fill:文字颜色。
font:字体和大小,通过上述ImageFont来定义。
用draw.text()加水印文字,特别简单!
########### 加文字 ###########
draw_txt = ImageDraw.Draw(image)
txt_size = int(im_size[0]*0.02)

# 设置字体和文字大小
chi_font = ImageFont.truetype('./font/adsryen.ttf', size=txt_size)

# 直接在照片上写文字
draw_txt.text(xy = (im_size[0]//2-txt_size//2,im_size[1]-int(txt_size*1.2)),
              text = '@adsryen',
              font = chi_font)

image.show()

右边两张是暂未加载,并不是失败,双击照样能正常打开
Image中的方法:
1.image.show():展示图像,Win系统下show会打开系统自带的图像显示程序。
2.image.transpose(method):图像翻转或者旋转,例如ROTATE_90表示将图像逆时针旋转90°。
3.image. thumbnail (size):制作缩略图,参数size指定最大的宽度和高度。
4.image.paste(region, box, mask):将一张图粘贴到另一张图上。
image:底图;
region:要粘贴上底图的图,即水印图片;
box:要粘贴的位置,2元组表示左上角坐标;
5.mask:对应的模板图像来填充所对应的区域,模板图像的尺寸必须与region对应的图像尺寸一样,原图像和模板图像可以为同一个图。
image. save(path, quality):针对JPG格式,quality参数表示保存图像的质量,值的范围从1(最差)到95(最佳)。 默认值为75,此时图片会被压缩。
用image.paste()加水印图,也特别简单!
########### 加图片 ###########
# 读入水印图

mark_image = Image.open('./web-icon2.png')

# 这个小太阳有点大,压缩一下
mark_image.thumbnail((150, 150))

# 将小太阳加在照片左上角的位置
position = mark_size//3, mark_size//3
image.paste(mark_image, position, mark_image)

image.show()

小结:
新建watermark文件夹,该文件夹下放入Python文件,并新建3个子文件夹:
1.font文件夹存放字体;
2.input存放原始图片;
3.output文件夹为空,程序跑完后打好水印的图片会输出到该文件夹。
背景水印打法可以看这篇:https://zhuanlan.zhihu.com/p/138732523
下面自取~
########## 批量加水印照片 #########
import os
import sys
from PIL import Image, ImageFont, ImageDraw

########## 批量加水印照片 #########
import os
import sys
from PIL import Image, ImageFont, ImageDraw

# 读入水印图
mark_image = Image.open('./web-icon2.png')


def add_watermark(image_file):
    image = Image.open(image_file)
    im_size = image.size
    print('原始图片尺寸:', im_size)

    if im_size[0] > im_size[1]:  # 如果是横版
        mark_size = int(im_size[0] * 0.5)
    else:
        mark_size = int(im_size[1] * 0.5)

    mark_image.thumbnail((mark_size, mark_size))
    print('水印图片尺寸:', mark_image.size)

    position = mark_size // 5, mark_size // 3
    position = im_size[0] - int(mark_size * 1.2), im_size[1] - int(mark_size * 0.5)
    image.paste(mark_image, position, mark_image)

    name = os.path.basename(image_file)
    new_name = os.path.join('.\output', name)
    image.save(new_name, quality=99)


# 循环读入照片
files = os.listdir('.\input')
for file in files:
    image_file = os.path.join('.\input', file)
    print(image_file)
    add_watermark(image_file)
########## 批量加水印文字 #########
import os
import sys
from PIL import Image, ImageFont, ImageDraw


def add_watermark(image_file):
    image = Image.open(image_file)
    draw_txt = ImageDraw.Draw(image)

    im_size = image.size
    print('原始图片尺寸:', im_size)
    if im_size[0] > im_size[1]:  # 如果是横版
        txt_size = int(im_size[0] * 0.05)
    else:
        txt_size = int(im_size[1] * 0.05)
    print('水印文字尺寸:', txt_size)

    # 设置字体和文字大小
    chi_font = ImageFont.truetype('./font/fzstk.ttf', size=txt_size)

    # 直接在照片上写文字
    draw_txt.text(xy=(im_size[0] // 2 - txt_size // 2, im_size[1] - int(txt_size * 1.2)),
                  text='@AdsRyen',
                  font=chi_font)

    name = os.path.basename(image_file)
    new_name = os.path.join('.\output', name)
    image.save(new_name, quality=99)


### 循环读入照片
files = os.listdir('.\input')
for file in files:
    image_file = os.path.join('.\input', file)
    print(image_file)
    add_watermark(image_file)
「真诚赞赏,手留余香」
真诚赞赏,手留余香
使用微信扫描二维码完成支付
